Well, first I should apologize for being so absent from the blogging world. I really have been stamping...tried submitting stuff to a magazine (no results, probably have to get used to that one), getting ready for my Stamp Camp, and making the gifts for my stamp camp attendees. I plan to show you the gifts I made for the girls that came over, but I haven't had a chance to take any pictures yet. Plus I am working on figuring out a blog candy thing (by the way, I haven't forgotten about my promised blog candy that I have for one lucky customer of mine...that will be out this week, I promise!) and one of those gifts might be one of the things as part of the candy. So please stay tuned this week for my upcoming blog candy announcement and how to participate!!!
Anyway, along with the fabulous projects (shown below) that the girls did at my Stamp Camp on Saturday, they seem to think that I made some fabulous food as well! I think just about everyone asked for the recipes...so instead of trying to write it out 6 times, I told them that I would post them here. I have a picture of the Caramel Apple Salad, but it doesn't look very appetizing....but believe me it is!!! My husband and I can't get enough of this stuff! The Broccoli Ham Ring is a nice lunch meal for guests...it looks like it took a lot of time, but it is oh so easy. So enjoy!
Caramel Apple Salad
Ingredients: 4-6 Snickers Candy Bars (frozen), 2-6 Granny Smith apples, chopped, 1 (8 oz) container of Cool Whip, 1 (3.5 oz) package of dry instant vanilla pudding
1) Smash frozen candy bars in wrappers with a hammer
2) Mix all ingredients together.
Serves 6 - 8 people
Note: For those at the stamp camp, I used 6 candy bars and 6 apples
Broccoli Ham Ring
Ingredients: 2 tubes (8 oz) refrigerated crescent roll dough, 1-1/2 cups (6 oz) shredded swiss cheese, 1/4 lb fully cooked diced ham (about 1/2 cup), 2-1/4 cups chopped fresh broccoli, 2 Tbsp Dijon Mustard, 1 tsp lemon juice
1) Unroll crescent roll dough and place triangles on a 12" pizza pan (or pizza stone like I use), forming a ring with the pointed ends facing the outer edge of the pan and wider ends overlapping.
2) Lightly press wide ends together.
3) Combine the remaining ingredients; spoon over wide ends of rolls.
4) Fold points over filling and tuck under wide ends (filling will be visible)
5) Bake at 375 degrees for 20-25 minutes or until golden brown.
Serves 6-8
*******************************************************
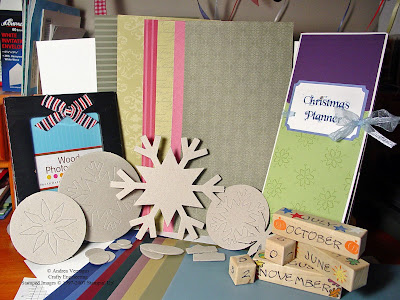
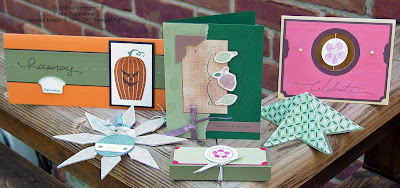
And here are the up-close pictures of the Stamp Camp projects...got any questions, just leave me a comment and I will let you know! I am missing pictures of the nugget box, so I will have to add that pic later.
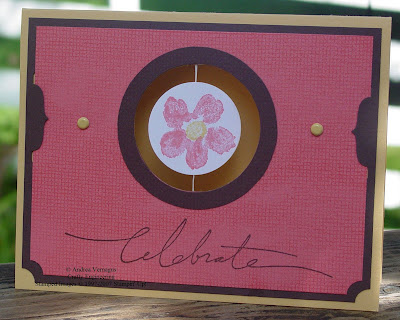
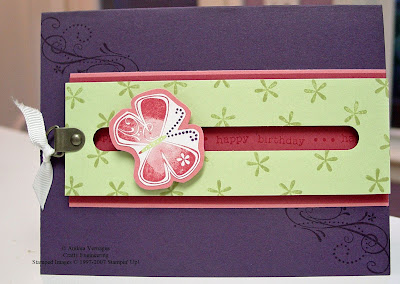
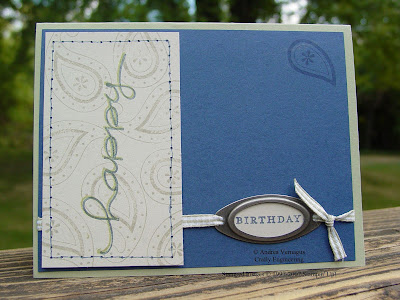
Celebrate Suspension Card
Dotted Autumn Faux Linen Card

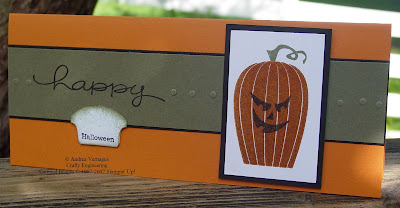
Scratch n' Sniff Halloween Card (smells like cinnamon)
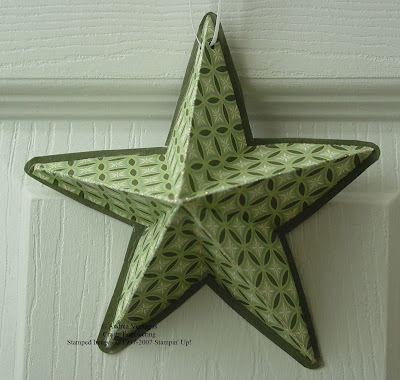
5-Point Folded Star Ornament
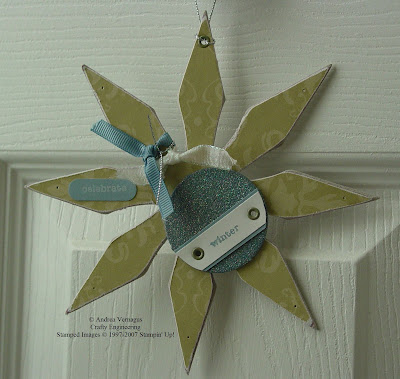
Chipboard Ornament


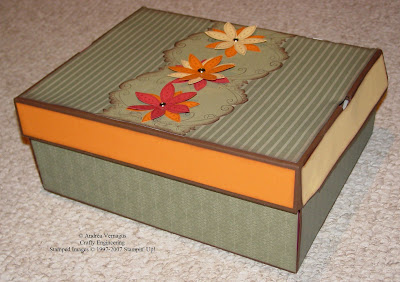 The other project I finally completed was to decorate the box that I put all of the amazing RAK's in for the Dunn Family. I wanted to give them a pretty box along with the heartfelt greetings. It turned out fairly well...probably needs some more decoration, but I wanted to get it done to send to them. They should be receiving it in the next week or so. Thank you again to all of you for helping me send them a little love, support, and prayers!!
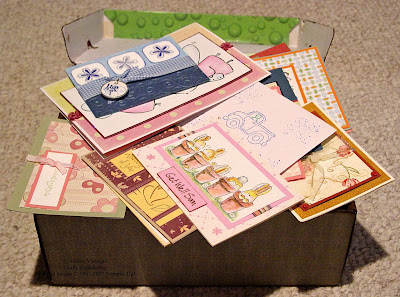


 Chipboard Ornament

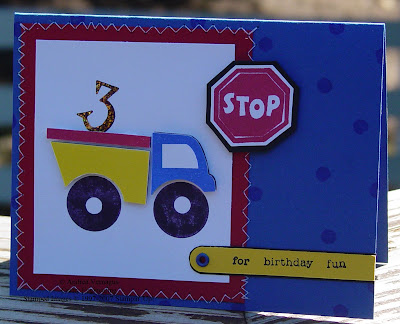


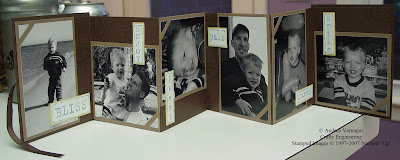
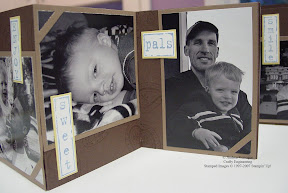
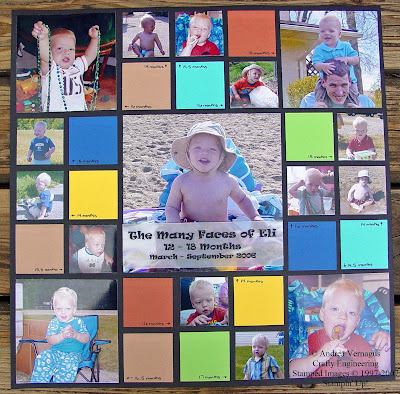
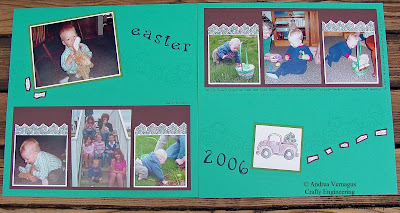
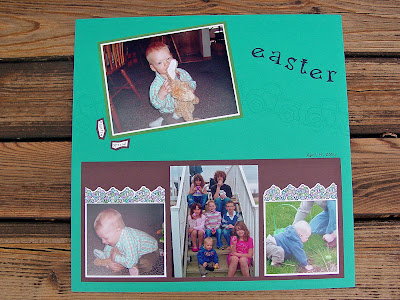

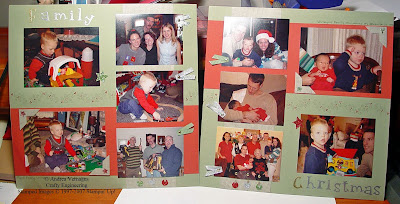
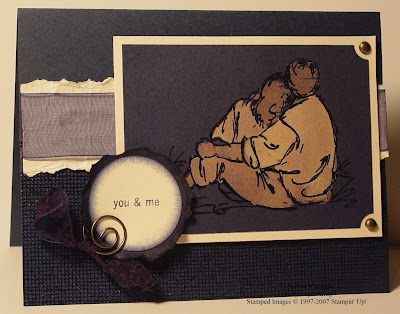
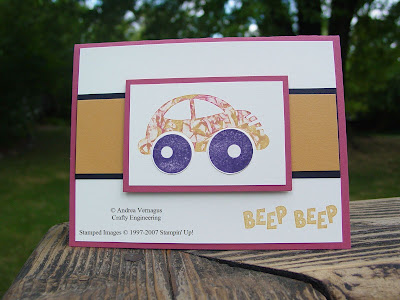
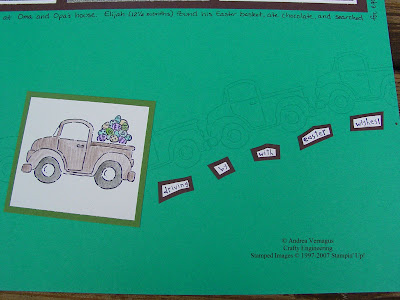 Here is a little bit more detail of the truck area and the sentiment. I am hoping to get more of my scrapbook creations uploaded...but alas time is not in my favor. Oh and one word of note...since these pages are part of my son's scrapbook (that he may get when he turns 30...that is if it is done), so I don't always stick to Stampin' Up! products only. Some embellishments and such are stuff I pick up in random places. I will try to note that in future posts.


