My Stamp-a-Stack over the weekend went great, but as always I did not budget the time correctly for the cards! I felt so bad that we went over the time I set...not for me, but for all of my attendees that tell their husbands what time they will be home! I promise, I swear, to make sure I stay within the times that I say. This probably means I have to make the projects a second time after I have designed them to see how long they truly take...a step that I very rarely take! So to all of my SAS attendees, please accept my apologies for running long and know that I will work to budget my time better in the future!
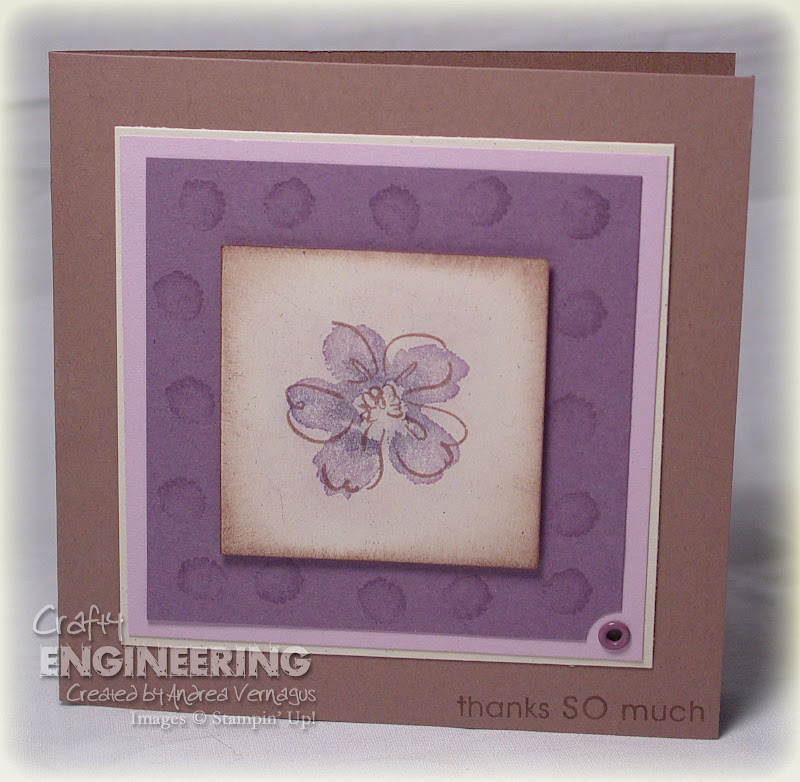
After resting on Saturday night...the Stamp-a-Stack wore me out...I started to do a little stamping on Sunday (when I probably should have been doing laundry or ironing!) and realized that I had a pile of extra cut cardstock sitting out. When I prepare for a workshop I always have extras leftover from the make-and-takes...don't want to not have enough for everyone. Usually I just throw it in my scrap pile, but this time I decided let see what else I can make with the pieces. So the first card is what I had at a workshop. Simple, but utilized the Poppin' Pastels technique and gave them a chance to try the Crop-a-Dile for setting the eyelet.
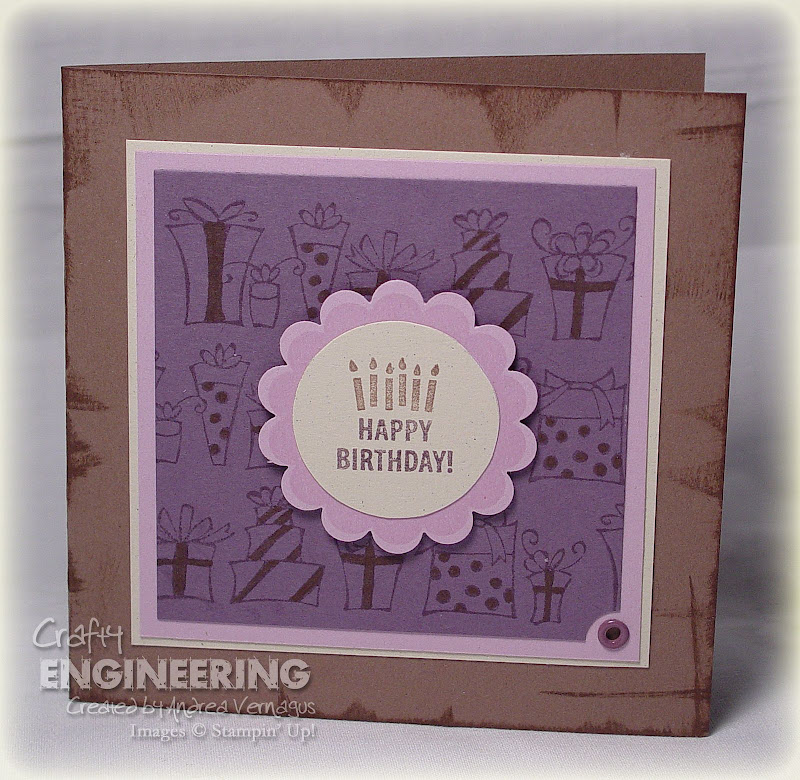
I just recently got a big order (mostly for SAS supplies), but it had some fun stuff for me as well, including my Sale-A-Bration stamp sets! So I broke out the So Many Scallops stamp set and my scallop circle punch and went to town! The Happy Birthday card was not a huge transformation from the original card...I kept most of the same elements and sizes, just added the scallop circle focal point. I utilized the presents stamp from the retired Something to Celebrate set for the background and then added some Close to Cocoa highlights on the presents.
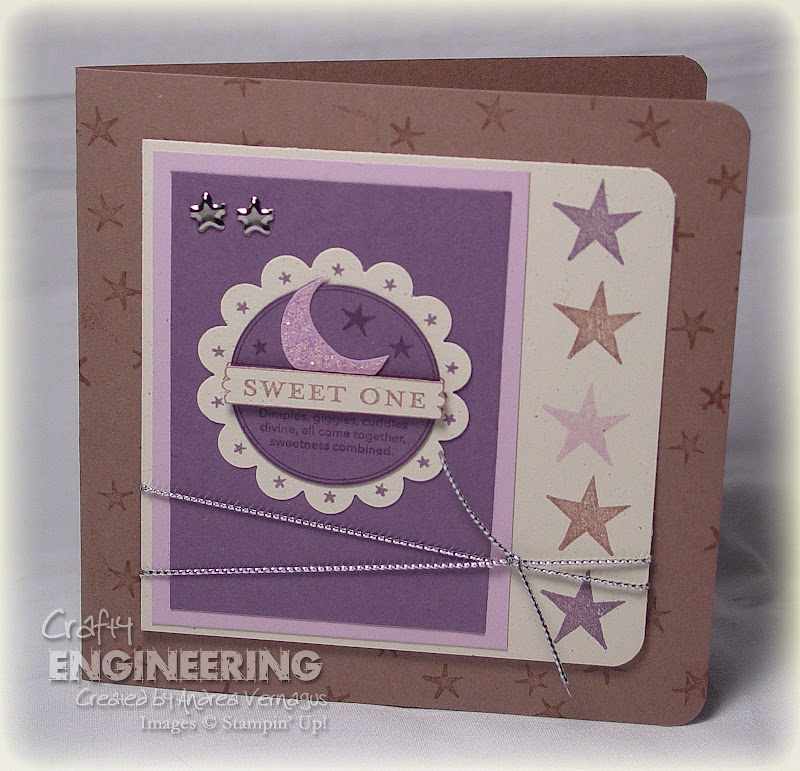
The Sweet One card turned out to be my favorite. I utilized
Beate's Weekend Sketch Challenge 35 for the layout...of course I have a square card and I turned the two little accents, but I think it still counts. The Sweet One stamp from So many Scallops was stamped three times and then paper pieced together and Diamond Stickles was added to the moon. I remembered the star in the set Wondrous Gift is a very good match to the stars in the stamp, so I broke it out and stamp the large star in the three colors on the side and the small stars in Close to Cocoa on the background. I decided on some silver cord (retired from SU!) tied around the bottom...mostly because I didn't have a color ribbon that I felt coordinated right...and then added two star brads from Oriental Trading as my two accents (shown in the sketch). We just found out friends of ours had their baby boy, so now I want to repeat this card with blues for them!

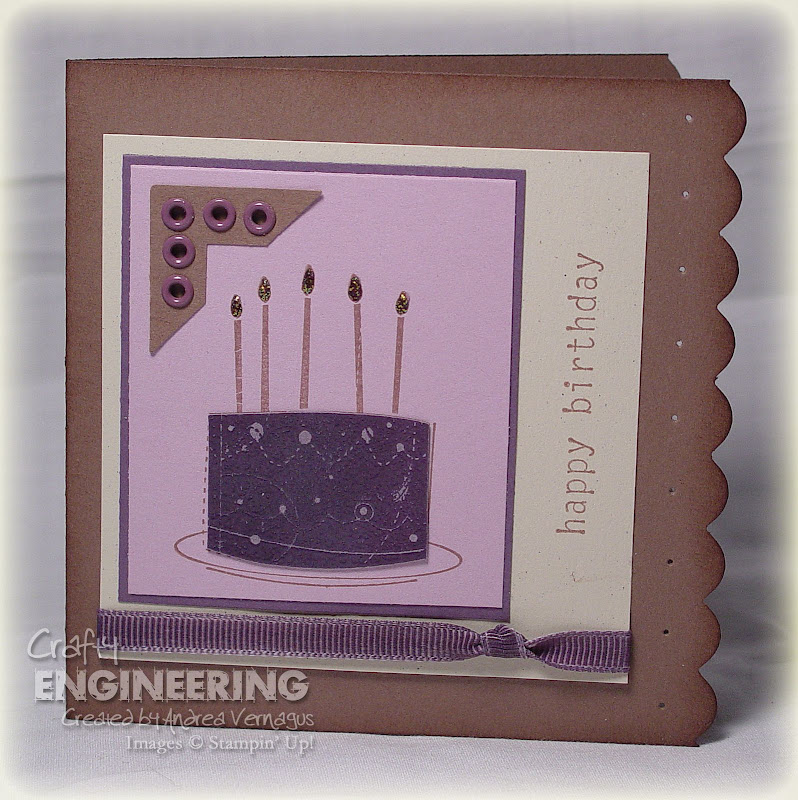
One last one...I wanted to try Beate's sketch one more time...maybe sticking to it a little closer. I broke out my other new Sale-A-Bration stamp set, Birthday Whimsy. Stamped the cake twice, once in Versamark on Perfect Plum and once in Close to Cocoa on Pale Plum. The versamark one was embossed with Crystal Clear embossing powder and then I rubbed Vanilla craft ink over the top to try and highlight the detail on the cake that I felt was getting lost...obviously rubbed off the extra. Layered everything and added a photo corner with eyelets in the corner and a dyed Perfect Plum ribbon with a knot at the bottom. Scalloped the edge of the card using the corner rounder punch...when I did this, I had the card upside down in the punch and it left these little dot impressions on the front of the card, so I paper pierced in those spots. Every mistake has a silver lining...or a piece of cardstock covering it up!
Lastly, the ladies at my Stamp-A-Stack asked me to share the recipe for the soup I served for lunch, so here you go:
Broccoli Wild Rice Soup1 package (6 oz) Uncle Ben's Chicken & Wild Rice mix
5 cups water
1 package (10 oz) frozen chopped broccoli, thawed
1 medium carrot, shredded
2 tsps dried minced onion (I used onion powder though)
1 can (10.75 oz) condensed cream of chicken soup, undiluted
1 pakage (8 oz) cream cheese, cubed
In a large saucepan, combine rice, contents of seasoning packet, and water; bring to a boil. Reduce heat; cover and simmer for 10 minutes, stirring once. Stir in the broccoli, carrot, and onion. Cover and simmer for 5 minutes. Stir in soup and cream cheese. Cook and stir until cheese is melted. Yields 8 servings (about 2 quarts)
The Engineering Details - Thanks So Much CardStamps - Heartfelt Thanks, So Many Sayings (Retired); Cardstock - Close to Cocoa, Vanilla Naturals, Pale Plum, Perfect Plum; Ink - Versamark, Close to Cocoa; Accessories - Stampin' Pastels, blender pen, ticket corner punch, Perfect Plum eyelet; Supplies - Crop-a-Dile, dimensionalsThe Engineering Details - Happy Birthday CardStamps - So Many Scallops, Something to Celebrate (retired); Cardstock - Close to Cocoa, Vanilla Naturals, Pale Plum, Perfect Plum; Ink - Pale Plum, Perfect Plum, Close to Cocoa, Perfect Plum Marker, Close to Cocoa Marker; Accessories - scallop circle punch, 1-3/8" circle punch, ticket corner punch, Perfect Plum eyelet; Supplies - dimensionalsThe Engineering Details - Sweet One CardStamps - So Many Scallops, Wondrous Gift; Cardstock - Close to Cocoa, Vanilla Naturals, Pale Plum, Perfect Plum; Ink - Pale Plum, Perfect Plum, Close to Cocoa; Accessories - scallop circle punch, 1-3/8" circle punch, 3/16" corner rounder punch, Diamond Stickles, Silver Cord (retired SU!), silver star brads (Oriental Trading), 1/16" circle punch; Supplies - dimensionals, scissorsThe Engineering Details - Birthday Whimsy CardStamps - Birthday Whimsy; Cardstock - Close to Cocoa, Vanilla Naturals, Pale Plum, Perfect Plum; Ink - Close to Cocoa, Versamark, Perfect Plum Marker; Accessories - Photo Corner punch, Perfect Plum eyelets, 3/16" corner rounder punch, crystal clear embossing powder, Diamond Stickles; Supplies - heat gun, Crop-a-Dile, paper piercer, Mat pack
 How about some yummy burgers? What?! Do those leaves look a bit too bright green?! Well that would be because they are not hamburgers, but mini dessert burgers! I saw these on another blog and found the recipe HERE and decided that they would be a fun thing for my son and I to make for Father's Day. I despise coconut though (which is what the recipe called for to make lettuce), so we just used green frosting with a leaf tip. Eli just thought it was so funny that we were going to eat "burgers" for dessert! My husband was actually nervous to eat them because the burger, ketchup, and mustard look so real. The bigger picture gives you a better picture of the actual size of them...think vanilla wafer size...that is what makes up the "buns".


 The Sweet One card turned out to be my favorite. I utilized


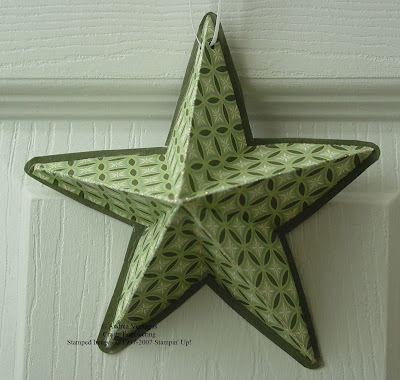 Chipboard Ornament