


Anyway, along with the fabulous projects (shown below) that the girls did at my Stamp Camp on Saturday, they seem to think that I made some fabulous food as well! I think just about everyone asked for the recipes...so instead of trying to write it out 6 times, I told them that I would post them here. I have a picture of the Caramel Apple Salad, but it doesn't look very appetizing....but believe me it is!!! My husband and I can't get enough of this stuff! The Broccoli Ham Ring is a nice lunch meal for guests...it looks like it took a lot of time, but it is oh so easy. So enjoy!
Caramel Apple Salad
Ingredients: 4-6 Snickers Candy Bars (frozen), 2-6 Granny Smith apples, chopped, 1 (8 oz) container of Cool Whip, 1 (3.5 oz) package of dry instant vanilla pudding
1) Smash frozen candy bars in wrappers with a hammer
2) Mix all ingredients together.
Serves 6 - 8 people
Note: For those at the stamp camp, I used 6 candy bars and 6 apples
Broccoli Ham Ring
Ingredients: 2 tubes (8 oz) refrigerated crescent roll dough, 1-1/2 cups (6 oz) shredded swiss cheese, 1/4 lb fully cooked diced ham (about 1/2 cup), 2-1/4 cups chopped fresh broccoli, 2 Tbsp Dijon Mustard, 1 tsp lemon juice
1) Unroll crescent roll dough and place triangles on a 12" pizza pan (or pizza stone like I use), forming a ring with the pointed ends facing the outer edge of the pan and wider ends overlapping.
2) Lightly press wide ends together.
3) Combine the remaining ingredients; spoon over wide ends of rolls.
2) Lightly press wide ends together.
3) Combine the remaining ingredients; spoon over wide ends of rolls.
4) Fold points over filling and tuck under wide ends (filling will be visible)
5) Bake at 375 degrees for 20-25 minutes or until golden brown.
5) Bake at 375 degrees for 20-25 minutes or until golden brown.
Serves 6-8
*******************************************************
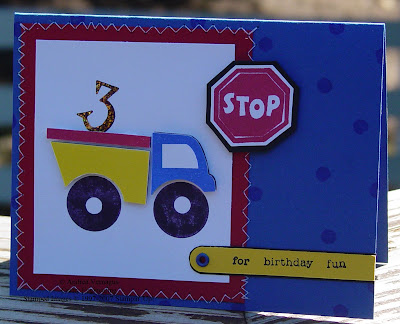
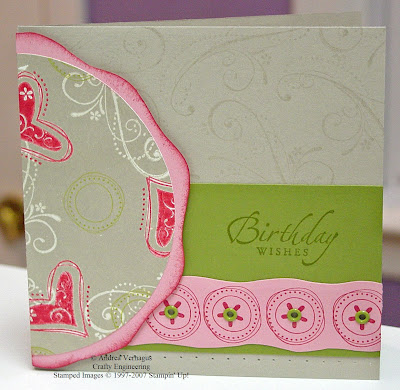
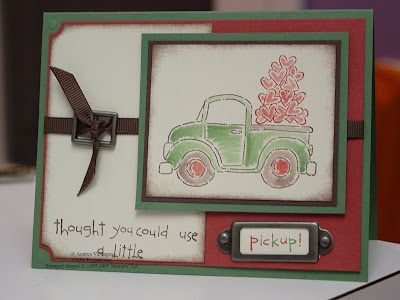
And here are the up-close pictures of the Stamp Camp projects...got any questions, just leave me a comment and I will let you know! I am missing pictures of the nugget box, so I will have to add that pic later.
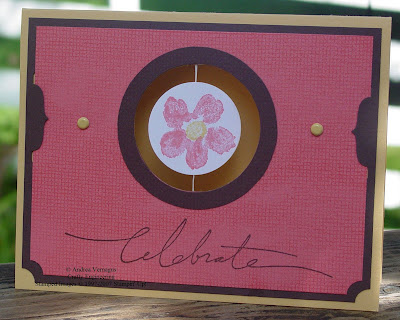
Celebrate Suspension Card
Dotted Autumn Faux Linen Card

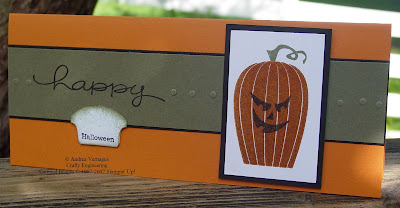
Scratch n' Sniff Halloween Card (smells like cinnamon)
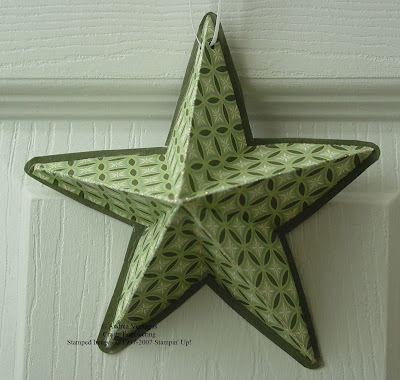
5-Point Folded Star Ornament
 Chipboard Ornament
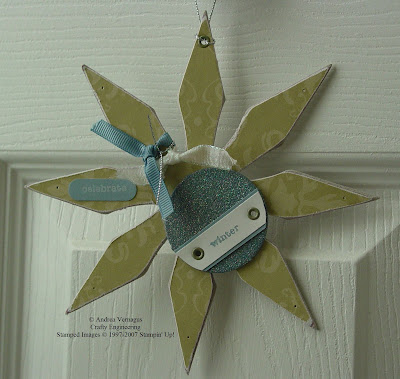


